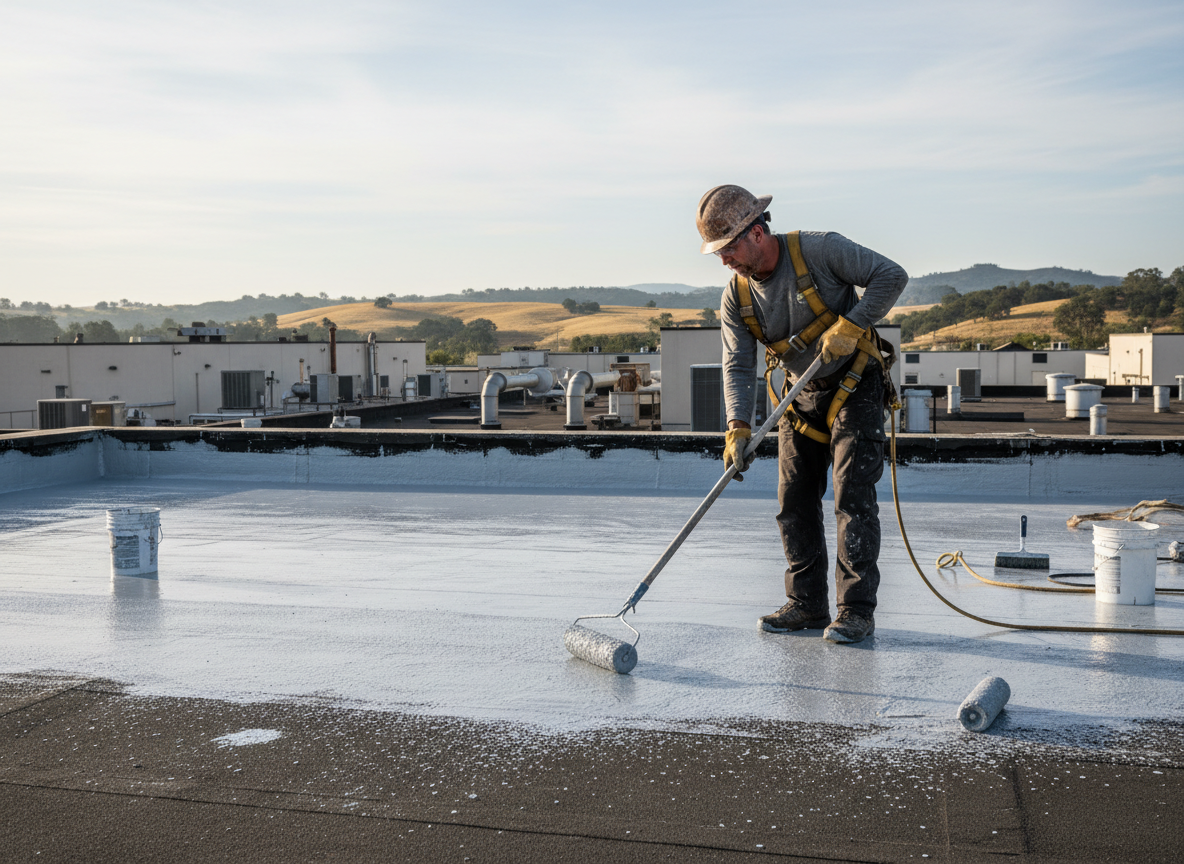
Oakley homes, many built before 1950 with asphalt shingles and brick exteriors, face repeated expansion and contraction from Cincinnati winters that drop below freezing then warm quickly. Liquid-applied membranes and reinforced seam tapes hold up better than standard coatings when seams open along valleys and around plumbing vents. Proper prep means removing loose granules and treating rust on metal flashings before the first coat goes down, or water finds the same path again within two seasons.
Edge cases in the Oakley area include low-slope porch roofs that collect standing water after summer storms and tree-lined streets where maple sap and pollen break down older sealants faster than on open lots. We extend waterproofing under step flashing at least six inches and tie it into existing gutters to prevent ice dams from pushing moisture behind fascia boards. Code notes in Hamilton County require maintaining positive drainage on any modified roof section, so we document slopes before work begins.
Homeowners often overlook the transition between the main roof and attached garages or additions common in Oakley bungalows. These joints move differently in spring thaws, cracking rigid coatings. We use fabric-embedded systems there and run a final water test from the ridge to the eave the same day. Skipping that step leaves small pinholes that only show after the next heavy rain.
Work starts from the Cincinnati address at 801 Plum St and reaches Oakley jobs the same day when called. Materials stay in sealed containers until surface temps hit the manufacturer's minimum to avoid adhesion failure on dew-covered decks.
Technician insight
In Oakley, the thing that catches most people out with roof waterproofing is how the freeze-thaw cycles on 1920s-1940s homes push water under the eaves where brick meets wood trim if the membrane stops short of the fascia.
Oakley Bungalow Valley Leak
Homeowner reported water stains along an interior wall after spring rains. Inspection found cracked sealant in a low valley on a 1930s roof where two additions met. We cleaned the seam, applied fabric-reinforced liquid membrane extending six inches past the joint, and tied it into the existing flashing. Follow-up rain test showed no moisture entry.
How it works
- 1
On-Site Inspection
Walk the full roof, check valleys, vents, and transitions for existing sealant failure or granule loss.
- 2
Surface Preparation
Power wash, scrape loose material, treat rust spots, and prime edges before any coating.
- 3
Membrane Application
Apply base coat, embed fabric at seams and penetrations, then finish with top coat for full coverage.
- 4
Final Water Test
Hose test from ridge down, photograph results, and note any touch-up locations before leaving.
Pricing
Upfront quotes after inspection; cost moves with roof size, slope complexity, and existing damage extent.