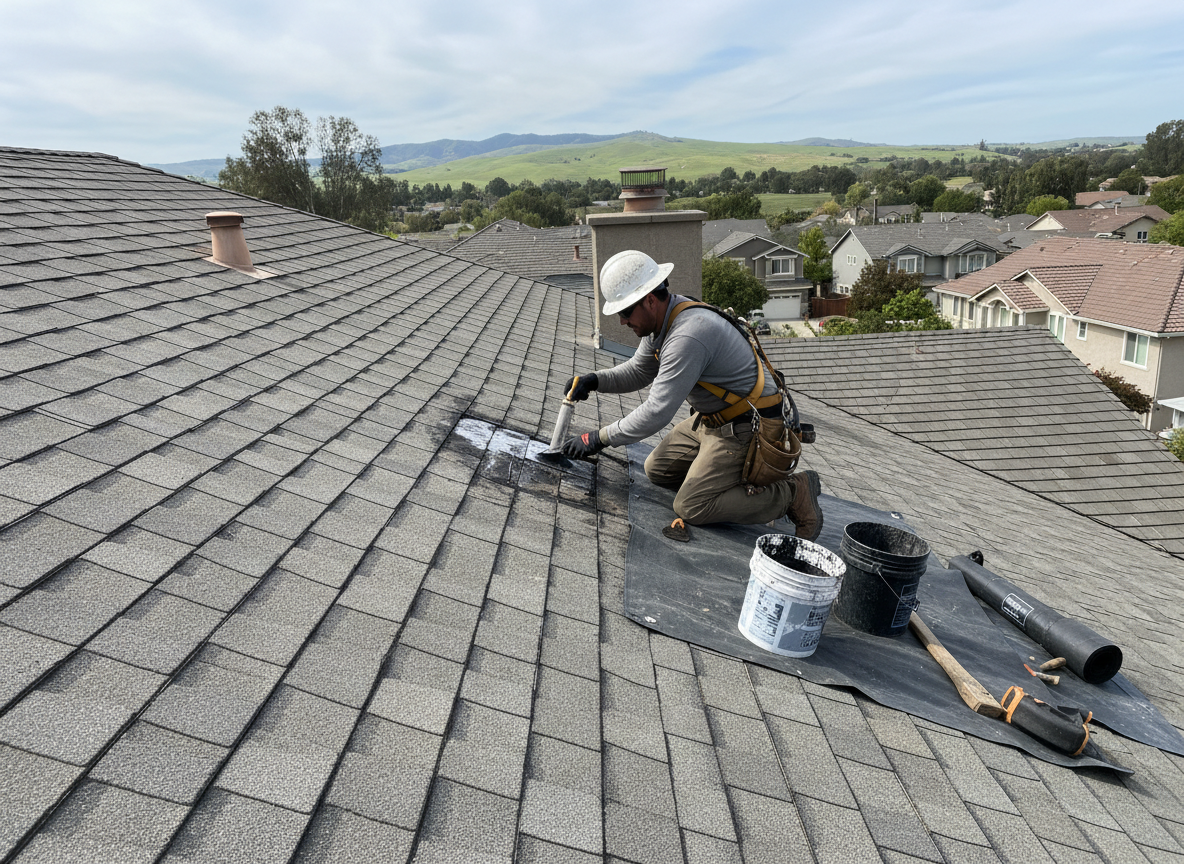
Oakley homes from the early twentieth century often carry two or three layers of asphalt shingles over original slate or wood. When a leak appears after spring rains or winter ice dams, the water frequently travels along the sheathing before showing up inside, so surface patches alone rarely solve the problem. We start by lifting the top layer at the suspected entry point, checking for rotted felt and deteriorated step flashing around chimneys and valleys that are common on these steep-pitched roofs.
Cincinnati's freeze-thaw cycles push water under flashing joints that were never meant to handle repeated expansion. In Oakley, many blocks sit on clay-heavy soil that holds moisture, increasing attic humidity and making small nail pops turn into active drips. Our crews carry extra underlayment and ice-and-water shield to extend past the immediate repair zone, because the next cold snap will find any shortcut we leave behind.
We also check attic ventilation while on site. Blocked soffits or undersized ridge vents trap condensation that mimics a roof leak, especially on the north-facing slopes that see less sun. Replacing a section of decking or adding a new boot around a plumbing vent takes the same trip and prevents a callback two months later when the furnace runs harder.
Technician insight
In Oakley the thing that catches most people out with leaky roof fix is the way water travels under three layers of old shingles on pre-1940 homes before it shows on the ceiling; we end up opening more roof than the stain suggests because the clay soil and tight lots keep everything damp longer than newer subdivisions.
Oakley Two-Story Leak After Ice Dam
Water appeared along a second-floor ceiling after a January thaw. We found failed flashing where the addition met the original roof on a 1928 home. We stripped back two layers, replaced the rotted decking and flashing, and sealed the transition with membrane. The homeowner reported no further stains after the next freeze.
How it works
- 1
On-Site Inspection
We arrive within hours, walk the roof and attic, and mark every water path with chalk so the homeowner sees the actual route.
- 2
Source Diagnosis
We remove minimal shingles to expose flashing, underlayment, and decking, confirming whether the leak starts at a valley, chimney, or vent.
- 3
Targeted Repair
We install new step flashing, ice-and-water membrane, and matching shingles, extending the fix two courses past the damaged area.
- 4
Final Water Test
We run a controlled hose test and check the attic again before leaving to confirm no active moisture remains.
Pricing
Upfront quote after inspection; cost driven by roof pitch, number of layers, and whether decking replacement is needed.