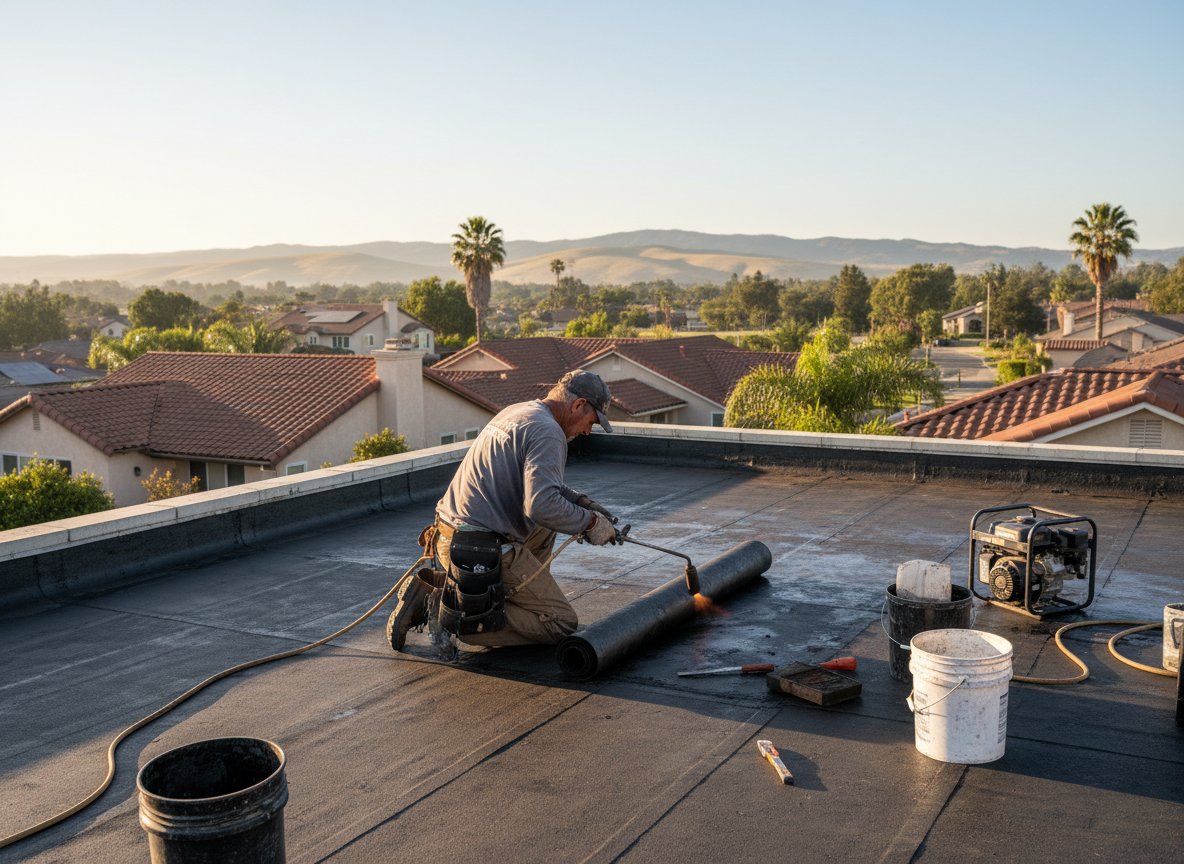
Oakley homes often feature flat or low-slope roofs on additions, garages, and some commercial structures built decades ago. These surfaces collect water during heavy Cincinnati rains and freeze-thaw cycles common in the region, leading to seam failures and blistering in the membrane. Experienced crews check for ponding near drains and parapet walls where debris builds up from nearby streets like Madison Road.
Repair work starts with identifying whether the existing membrane is modified bitumen, EPDM, or TPO, since each material reacts differently to UV exposure and foot traffic. Edge details around HVAC curbs and skylights frequently leak first in Oakley because older flashing was installed before current wind-driven rain standards. Proper patching requires compatible materials and tapered insulation to restore slope where none existed.
Code compliance in Hamilton County means any repair that exceeds certain square footage triggers permit review for wind uplift and drainage. Crews document existing conditions with photos before work begins so property owners see exactly what was addressed. Skipping this step often leaves owners dealing with the same leak the following spring.
Common Materials for Oakley Flat Roofs
Modified bitumen patches hold up well against the area's freeze-thaw cycles when properly torched and sealed. EPDM works for larger areas but needs mechanical fasteners in high-wind zones near the Mill Creek valley. Always match the existing system rather than mixing incompatible products that fail at the seams.
Technician insight
In Oakley, the thing that catches most people out with flat roof repair is ignoring how the slight slope on older bungalows funnels water toward the back wall shared with the neighbor's property. Once water gets under the edge flashing there, it travels along the joists and shows up inside weeks later.
Ponding Leak on Oakley Addition
Water was entering the ceiling of a rear addition after spring storms. Inspection showed the original membrane had separated at a low spot behind the HVAC unit. Crews added tapered insulation to restore drainage, installed a new compatible patch over the seam, and cleared the blocked scupper. No further leaks appeared after the next heavy rain.
How it works
- 1
Initial Inspection
Walk the roof and interior to locate active leaks, check drains, and note membrane condition.
- 2
Material Assessment
Identify existing roofing type and test adhesion at suspect areas before specifying repair approach.
- 3
Targeted Repair
Clean surfaces, install compatible patches or flashing, and restore slope where ponding occurs.
- 4
Final Check
Test drainage, photograph completed work, and review findings with the property owner.
Pricing
Pricing depends on roof size, membrane type, and extent of water damage found during inspection.